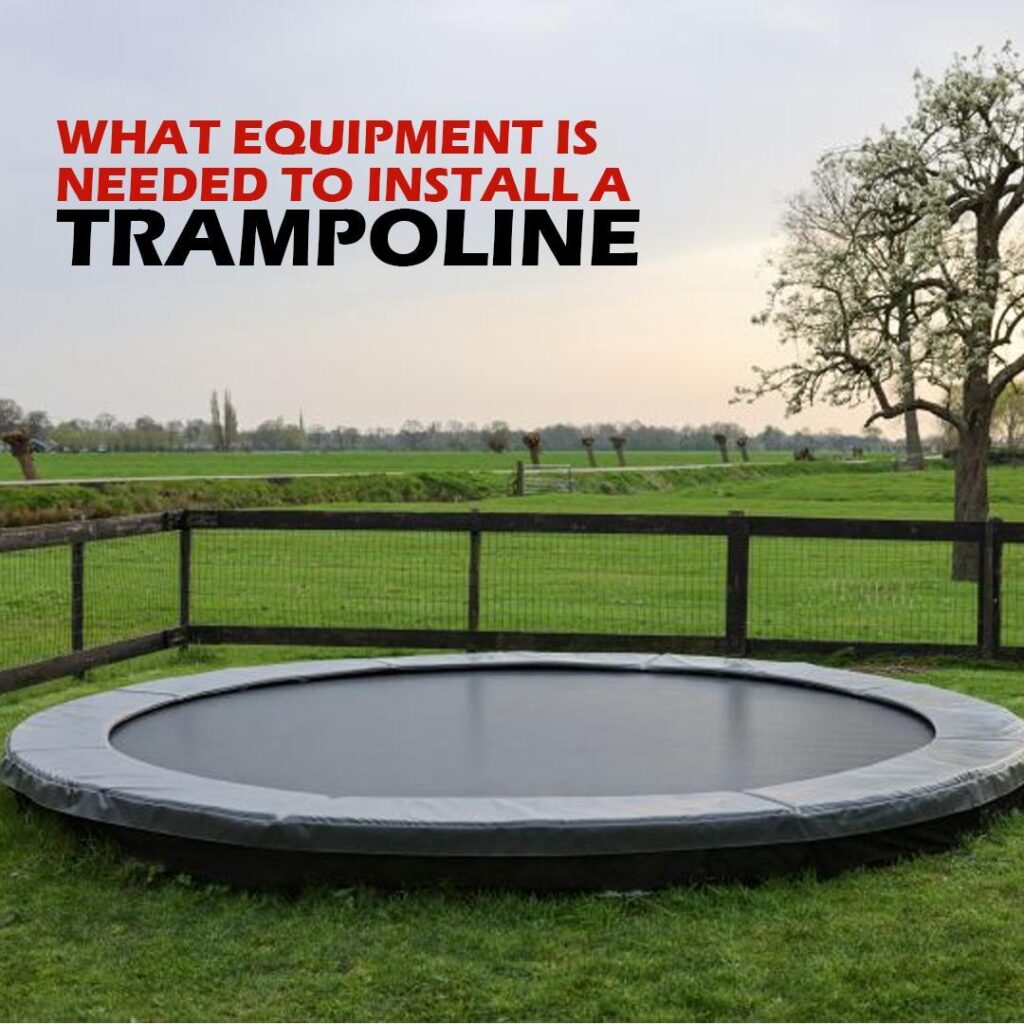
Thinking of installing a trampoline in your garden but worried about the tools and steps involved? Fear not, jumpy friend! This blog post is your one-stop guide to getting your trampoline up and running in no time.
We’ll cut through the confusion and provide a clear, concise list of the exact equipment you’ll need, from basic household tools to Akrobat trampoline-specific parts. Plus, we’ll throw in some handy tips to make the assembly process a smooth and, dare we say, fun experience.
Ready to transform your garden into a fun zone? Let’s get started!
Equipment Checklist
Let’s delve into the purpose of each tool and equipment item required for installing a trampoline in your garden:
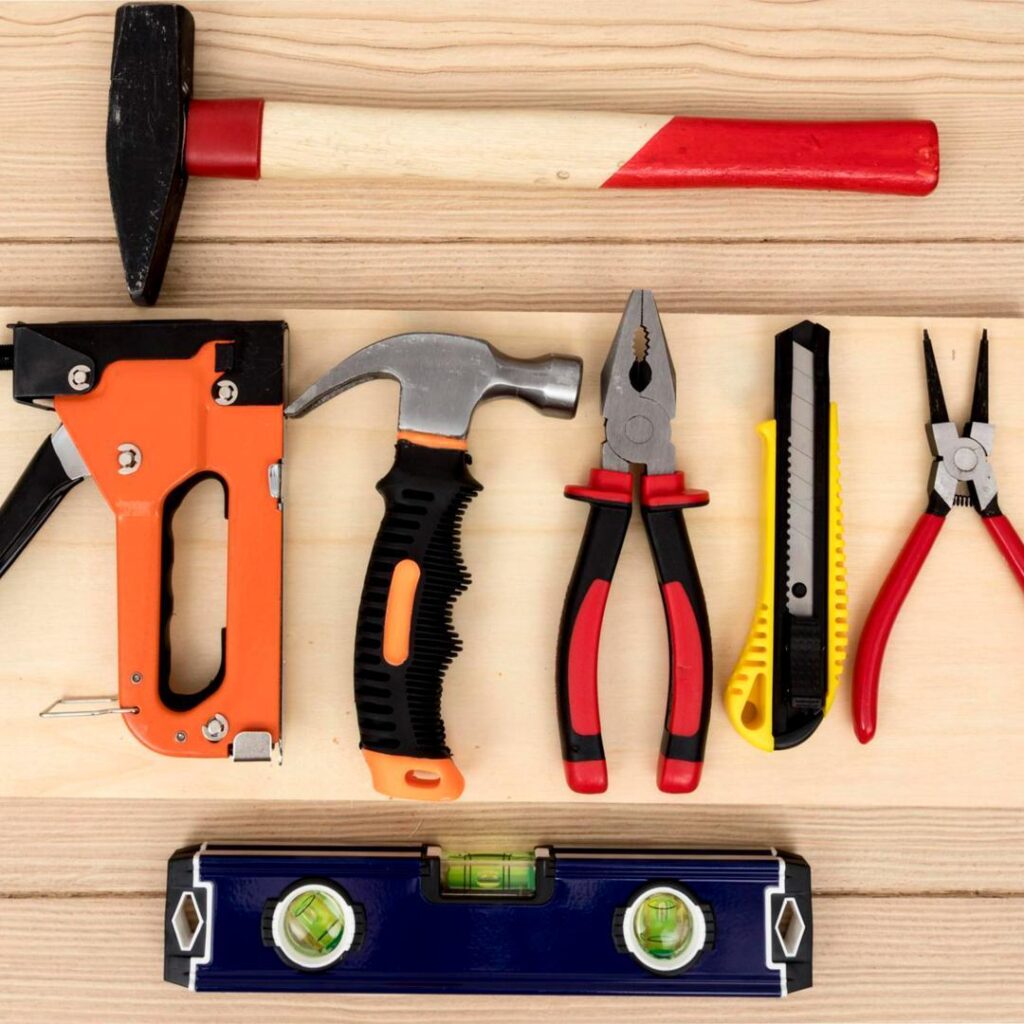
Basic Tools
- Tape Measure: This tool is essential for accurately measuring the area where you plan to install your trampoline. Measure the diameter of the trampoline to ensure it fits comfortably within the designated space.
- Hammer: A hammer is used for driving in stakes if you need to anchor the trampoline to the ground for added stability. Look for a durable hammer with a comfortable grip for ease of use.
- Screwdriver Set (Phillips and Flathead): These screwdrivers are indispensable for assembling various parts of the trampoline, including the frame, safety net, and padding. Opt for screwdrivers with magnetic tips to prevent screws from slipping during assembly.
- Adjustable Wrench: Used for tightening nuts and bolts, an adjustable wrench allows you to work efficiently without needing multiple sizes of wrenches. Choose a wrench with a sturdy construction and smooth adjustment mechanism.
- Allen Wrench Set: Many trampolines require Allen wrenches (hex keys) for specific bolts or screws. Ensure you have the right sizes as indicated in your trampoline’s instructions. Look for a set with a variety of sizes and a comfortable grip.
Safety Equipment
- Gloves: Protect your hands from cuts, scratches, and blisters while handling metal components and springs during assembly. Choose gloves that provide a good grip without compromising dexterity.
- Safety Goggles: Shield your eyes from flying debris, especially when attaching springs or using tools that create sparks. Opt for goggles that fit securely and have anti-fog lenses for clear visibility.
- Knee Pads (Optional): If you anticipate spending a lot of time kneeling or crouching during assembly, knee pads can provide comfort and protect your knees from strain or injury. Look for knee pads with adjustable straps and sufficient padding.
- First Aid Kit: Keep a basic first aid kit nearby in case of minor cuts, scrapes, or bruises during the installation process. Bandages, antiseptic wipes, and painkillers should be included.
Trampoline-Specific Equipment
- Trampoline Components: These are the essential parts of the trampoline, including the frame, jumping mat, springs, enclosure netting (if applicable), and padding. Ensure all components are included in your trampoline kit and inspect them for quality before assembly.
- Anchor Kit: If your area is prone to strong winds, an anchor kit will help secure the trampoline to the ground, preventing it from tipping over during use. Follow the manufacturer’s instructions for proper installation.
- Ladder: A ladder provides safe access to the trampoline, especially for children or individuals with limited mobility. Ensure the ladder is compatible with your trampoline’s height and weight capacity.
- Spring Puller Tool: This specialized tool makes it easier and safer to attach trampoline springs to the frame, reducing the risk of injury to your hands and fingers. Check if your trampoline kit includes a spring puller tool; if not, consider purchasing one separately.
- Level: Use a spirit level to ensure the trampoline is installed on a flat surface. A level surface is crucial for safety and optimal performance, preventing uneven bouncing and potential instability.

Tips on Acquiring Tools and Equipment
- Quality: Invest in high-quality tools and equipment to ensure durability and safety during installation. Check customer reviews and reputable hardware stores for reliable brands.
- Local Hardware Stores: Visit local hardware stores or DIY centers to purchase tools and equipment. Staff at these stores can guide you in selecting the right tools for your project.
- Online Retailers: Consider purchasing tools and equipment from reputable online retailers. To make well-informed purchasing choices, compare prices and read user reviews.
- Tool Hire Services: If you need specialized tools for a one-time project, consider renting them from tool hire services instead of purchasing them.
Understanding the purpose of each tool and equipment item and following these tips on acquisition, you’ll be well-prepared to tackle the trampoline installation with confidence and efficiency. Remember to prioritize safety throughout the process and enjoy the rewarding experience of setting up your trampoline in the garden!
Preparing the Installation Site
Before assembling your trampoline, it’s crucial to properly prepare the garden area to ensure a safe and stable setup. Here’s why preparing the installation site is important and the tools you may need for site preparation:
Importance of Site Preparation
Preparing the garden area before assembling your trampoline offers several benefits:
- Safety: A properly prepared site reduces the risk of accidents and injuries during trampoline use by ensuring a stable and level surface.
- Stability: Leveling the ground and removing obstacles helps prevent the trampoline from wobbling or tipping over during use, providing a more enjoyable and secure bouncing experience.
- Longevity: Site preparation can extend the lifespan of your trampoline by reducing wear and tear caused by uneven surfaces or debris.
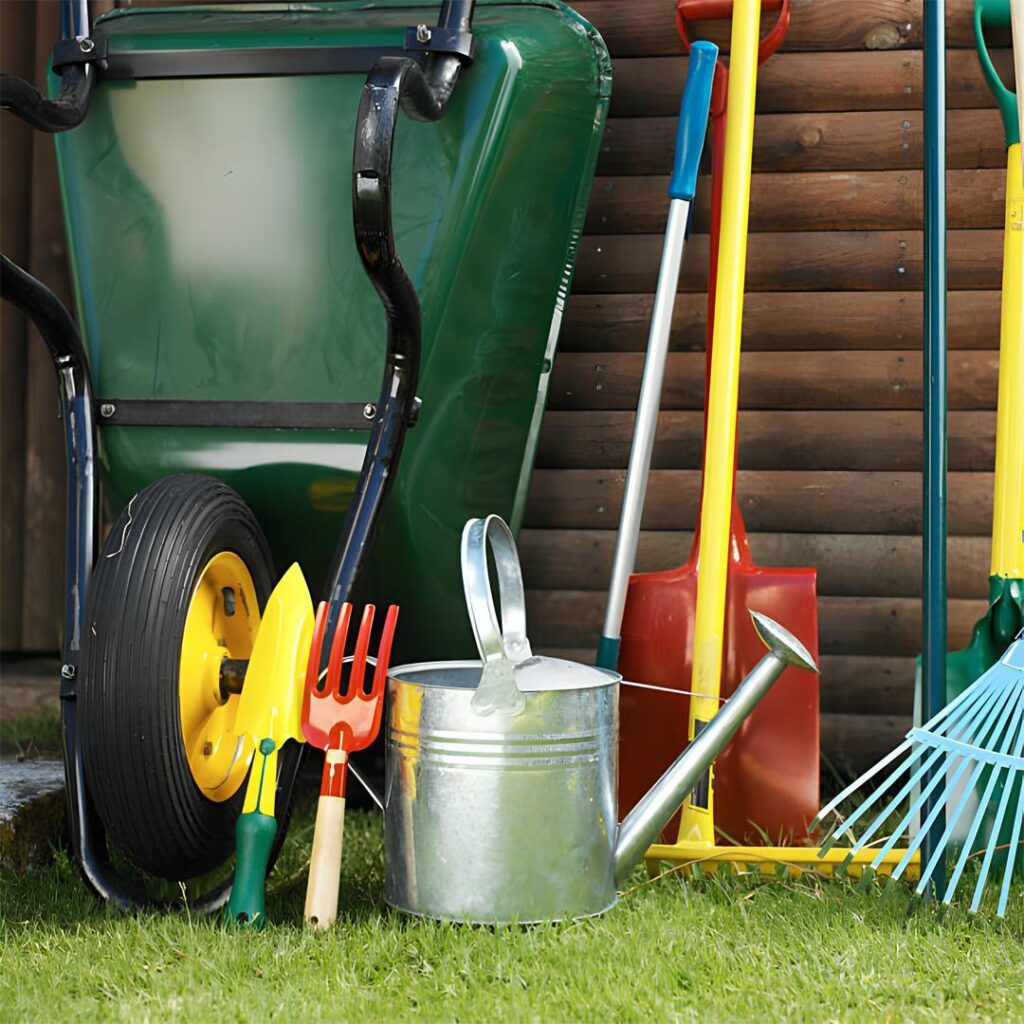
Tools Needed for Site Preparation
To prepare the installation site effectively, consider using the following tools:
- Rake: Use a rake to remove leaves, twigs, and other debris from the designated area. Clearing the site of debris ensures a clean surface for placing the trampoline.
- Shovel: A shovel is essential for leveling the ground and removing excess soil or grass clumps that may create unevenness under the trampoline. Use the shovel to fill in low spots and create a flat surface.
- Level: Use a spirit level to check the evenness of the ground. Adjust the soil as needed to ensure the installation site is perfectly level in all directions.
- Measuring Tape: Measure the area to confirm it matches the dimensions required for your trampoline size. Ensure there’s sufficient clearance around the trampoline to avoid obstacles.
- Wheelbarrow or Garden Cart: If you need to transport soil or debris away from the site, a wheelbarrow or garden cart can be handy for easy removal.
Tips for Site Preparation
- Choose a Flat Surface: Select a flat and even area in your garden away from overhanging branches or structures.
- Remove Obstacles: Clear the area of rocks, roots, toys, and other potential hazards that could affect the trampoline’s stability or pose a safety risk.
- Check for Drainage: Ensure the installation site has adequate drainage to prevent water accumulation under the trampoline, which can lead to rust or damage over time.
- Follow Manufacturer’s Guidelines: Refer to the trampoline’s installation instructions for specific site requirements and recommendations.
This not only enhances safety but also contributes to the longevity and performance of your trampoline for years of enjoyment.
Assembly Instructions
Assembling a trampoline requires careful attention to detail and proper use of the equipment listed. Follow these general tips for a successful trampoline assembly:
General Tips for Trampoline Assembly
- Read the Instructions: Before starting assembly, thoroughly read the manufacturer’s instructions provided with your trampoline kit. Familiarize yourself with the assembly steps and safety guidelines.
- Organize Your Workspace: Lay out all components and tools in a clear workspace near the installation site. This makes it easier to access everything you need during assembly.
- Use the Right Tools: Utilize the tools listed in the equipment checklist to assemble the trampoline efficiently. Ensure screwdrivers, wrenches, and other tools are compatible with the trampoline’s hardware.
- Follow Sequence: Assemble the trampoline components in the recommended sequence outlined in the instructions. This typically involves setting up the frame, attaching the springs, installing the jumping mat, and adding safety enclosures if applicable.
- Enlist Help if Needed: Trampoline assembly can be easier and safer with assistance from another person, especially when handling larger components or tensioning springs.
- Check for Stability: Regularly check the stability and alignment of the trampoline components as you progress through the assembly. Use a level to ensure the frame is flat and balanced.
- Secure Bolts and Fasteners: Tighten all bolts, screws, and fasteners securely to prevent the trampoline from wobbling or shifting during use.

Specific Steps for Different Trampoline Models
Depending on the type and model of your trampoline, specific steps or tools may be required:
- Sports Trampolines: Begin by assembling a sturdy rectangular frame, securing each joint firmly. Proceed by evenly attaching the springs, starting from one corner and moving systematically around the perimeter to ensure consistent tension and optimal bounce performance.
- In-Ground Trampolines: Start by excavating a pit matching the size of the trampoline, ensuring the depth allows for sufficient airflow and bounce. Construct a retaining wall within the pit to support the frame and prevent soil erosion. Assemble the frame at ground level, then evenly attach the springs, securing the jump mat in place to achieve a seamless look and safe integration with your landscape
- Family Trampolines: Initiate assembly by constructing a large, sturdy circular or rectangular frame depending on the model. Ensure that all connections are tight for safety. Attach the springs evenly around the frame, beginning at one point and alternating sides to maintain balance and even tension. This method provides a stable and durable setup suitable for multiple jumpers, ideal for family fun and recreational use.
- Specialized Tools: Some trampoline models may require specific tools, such as a spring puller tool for stretching and attaching springs efficiently.
Safety Considerations
- Wear safety gloves and goggles when handling metal components and tensioning springs to protect against injuries.
- Avoid overstretching springs beyond the recommended tension to prevent damage to the trampoline’s frame and jumping mat.
- Double-check all assembly steps to ensure the trampoline is securely assembled before allowing anyone to use it.
By following these assembly tips and considering the specific requirements of your trampoline model, you’ll be well-equipped to assemble your trampoline safely and efficiently.
Safety Tips and Guidelines

Trampolines can provide hours of fun and exercise, but it’s important to prioritize safety to prevent injuries. Follow these safety tips and guidelines for safe trampoline usage:
- Avoid attempting somersaults or flips on the trampoline, especially if you’re not trained in gymnastics. These maneuvers can lead to serious injuries, including head and neck injuries.
- Always supervise children when they’re using the trampoline. Ensure they follow safety rules and don’t engage in risky behaviors.
- Only allow one person to jump on the trampoline at a time to reduce the risk of collisions and injuries.
- If your trampoline has a safety enclosure or netting, make sure it’s properly installed and in good condition to prevent users from falling off.
- Routinely inspect the trampoline for any signs of wear and tear, including loose springs, torn padding, or damaged frame components.
- Always buy a high-quality trampoline to avoid poor performance and potential accidents later on.
- Replace worn-out or damaged parts promptly to ensure safety.
- Place the trampoline on a level surface away from trees, fences, or other structures that could pose a hazard.
- Ensure there’s ample clearance above the trampoline to prevent collisions with overhead objects.
- Educate everyone using the trampoline about safety rules and guidelines.
- Encourage proper jumping techniques, such as jumping in the center of the mat and avoiding jumping off the trampoline.
- Refrain from using the trampoline when it’s wet or slippery, as this increases the risk of slipping and injuries.
- Consider using additional safety gear such as knee pads and elbow pads, especially for children.
- If disassembling or moving the trampoline, supervise the process to ensure safety and proper reassembly.
Remember, safety is paramount when using recreational equipment like trampolines.
Conclusion
With the right equipment and a little know-how, you’ve successfully transformed your garden into a bouncing haven. Now, all that’s left is to grab your friends and family, lace up your shoes (safely!), and get ready for some epic jumps!
Remember: Safety first! Before letting anyone loose on the trampoline, review the manufacturer’s instructions on weight limits, safe jumping techniques, and proper enclosure use.
We hope this guide made the installation process a breeze. If you have any lingering questions! Happy jumping!